Making a Weather Station in Raspberry Pi
Table of Contents
- Introduction
- The Shopping
- Tan tan tana!! Problem.
- Solution ?
- The coding phase
- The case.
- Poorly written Golang
Introduction
I got my Raspberry Pi Zero W last year. Since then it had been collecting dust. I should have considered my experience with programming and the few stints that had happened along the way before making such an impulse buy. But, hey! That's why they are called impulses. However, COVID happened, and Coursera was almost free for half the year. I enrolled in a bunch of courses, I built a few things along the way, including the website you are on right now. I thought of giving the Pi another try.
The Shopping
I got inspired to build a weather station from this Reddit post. I got onto Pi Hut again. I bought:
- A header, because I didn’t have headers on my Pi
- An LCD display, A 1.14 inch tiny WaveShare LCD display
- A network HAT
- An ethernet cable
- A cute little fan
Tan tan tana!! Problem.
A very ultra silly mistake too. I didn’t have a soldering iron. Don’t be me and try to bend the around pins by hand. The contacts are unstable and it just does not work. I did not take a picture to torture your eyes and partly because I did not plan that I was going to make a blog post. And the project got side-lined. I got busy doing other things. But on Prime Day, Pi Hut also offered free delivery.
Solution ?
Luckily there are these hammer headers for people like me who can’t solder to save their lives. If you don’t like the sound of hammering your Pi, buy them with pre-soldered headers. Again don’t be me.
The coding phase
I thought I could copy the code from u/tehargus, with some minor adjustments. But being the miser I am I bought a different cheaper mini LCD display. Fortunately Waveshare had a bunch of guides on their website, and I ditched the code from u/tehargus. The code is pretty self explanatory. It has an infinite loop up top that runs every 100 seconds. It consumes the Open Weather API and prints the contents to the screen. Specifically the:
- Minimum and Maximum temperatures for the day
- What it feels like
- The current temperature
- The probability of rain
- Prints the CPU temperature. Not from the API, (duh!).
The code requires a .env file as it requires:
- API_KEY
- LOCATION
- LATITUDE
- LONGITUDE
At the end of the loop there's a 100 second sleep because in the free version Open Weather only allows 1000 API calls a day. If I did my calculation right 100 seconds intervals should be enough. Perks of copying code
The folder structure is complicated. I know. Font and Lib came from Waveshare tutorials. I didn’t touch it because I was scared to break things again. The pic folder contains the pictures from OpenWeather to be displayed. The main folder contains main.py with the actual code. You can tinker around if you’d like. :) Here’s the finished product.
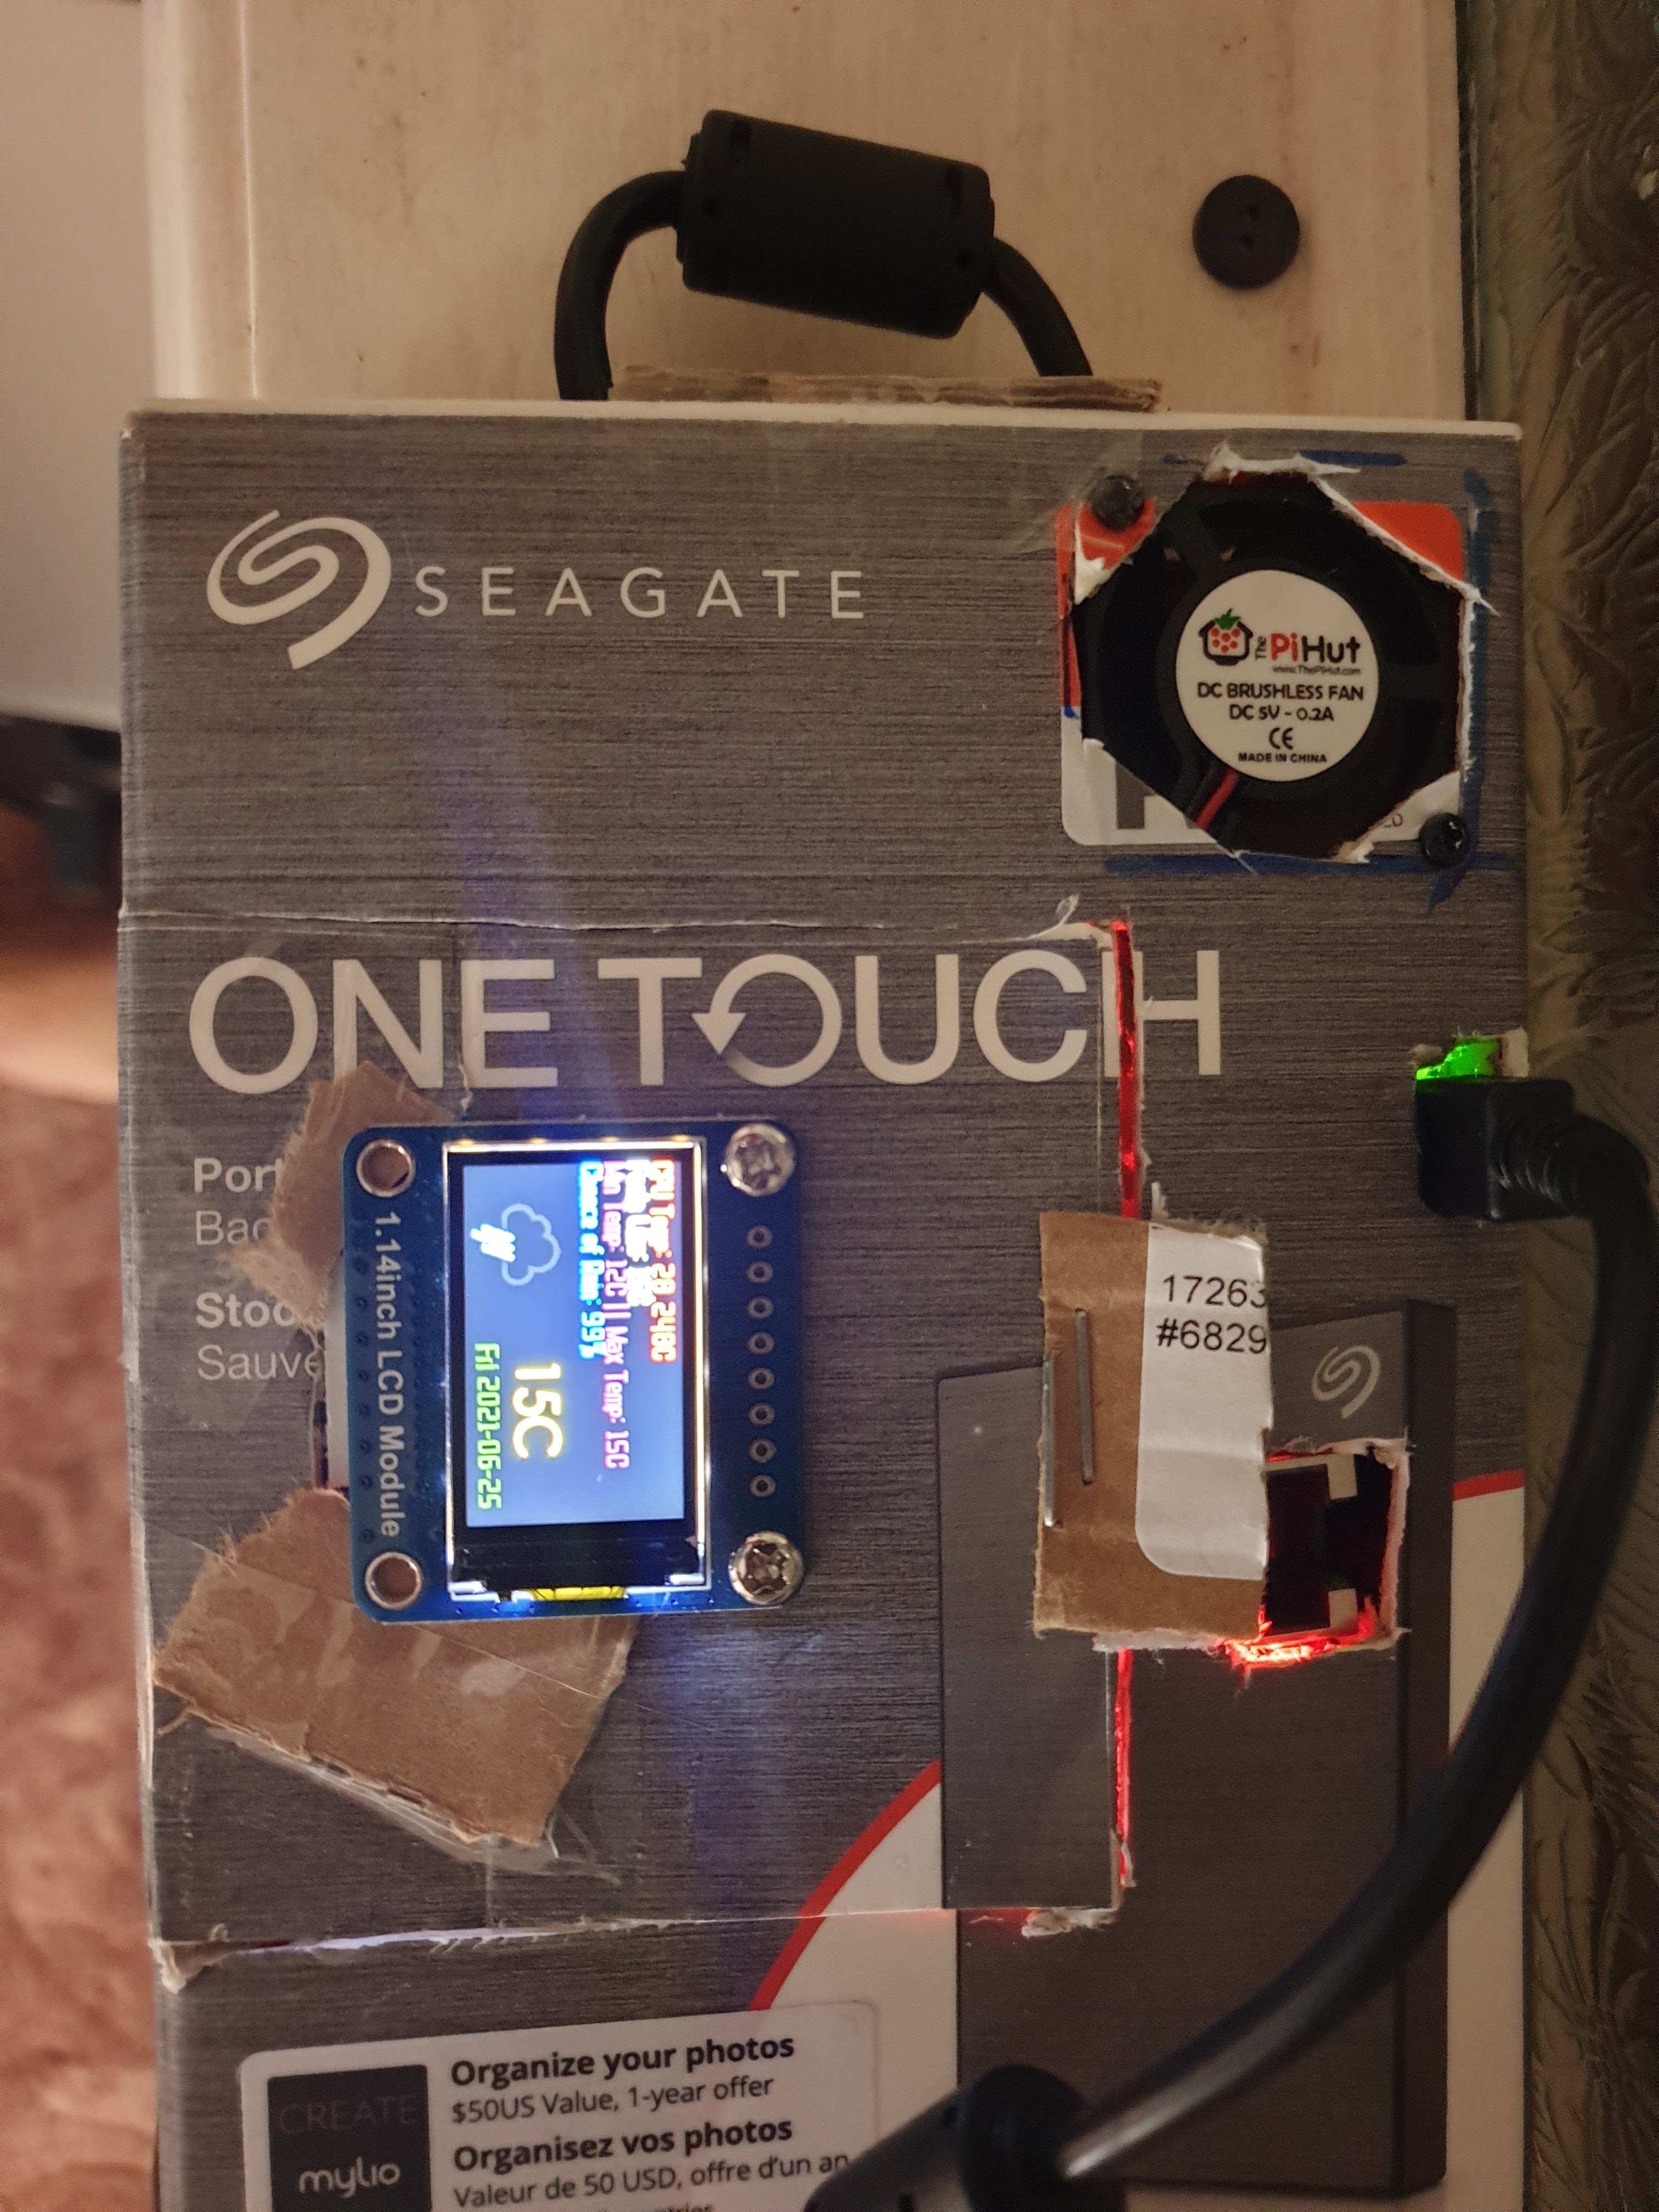
The case.
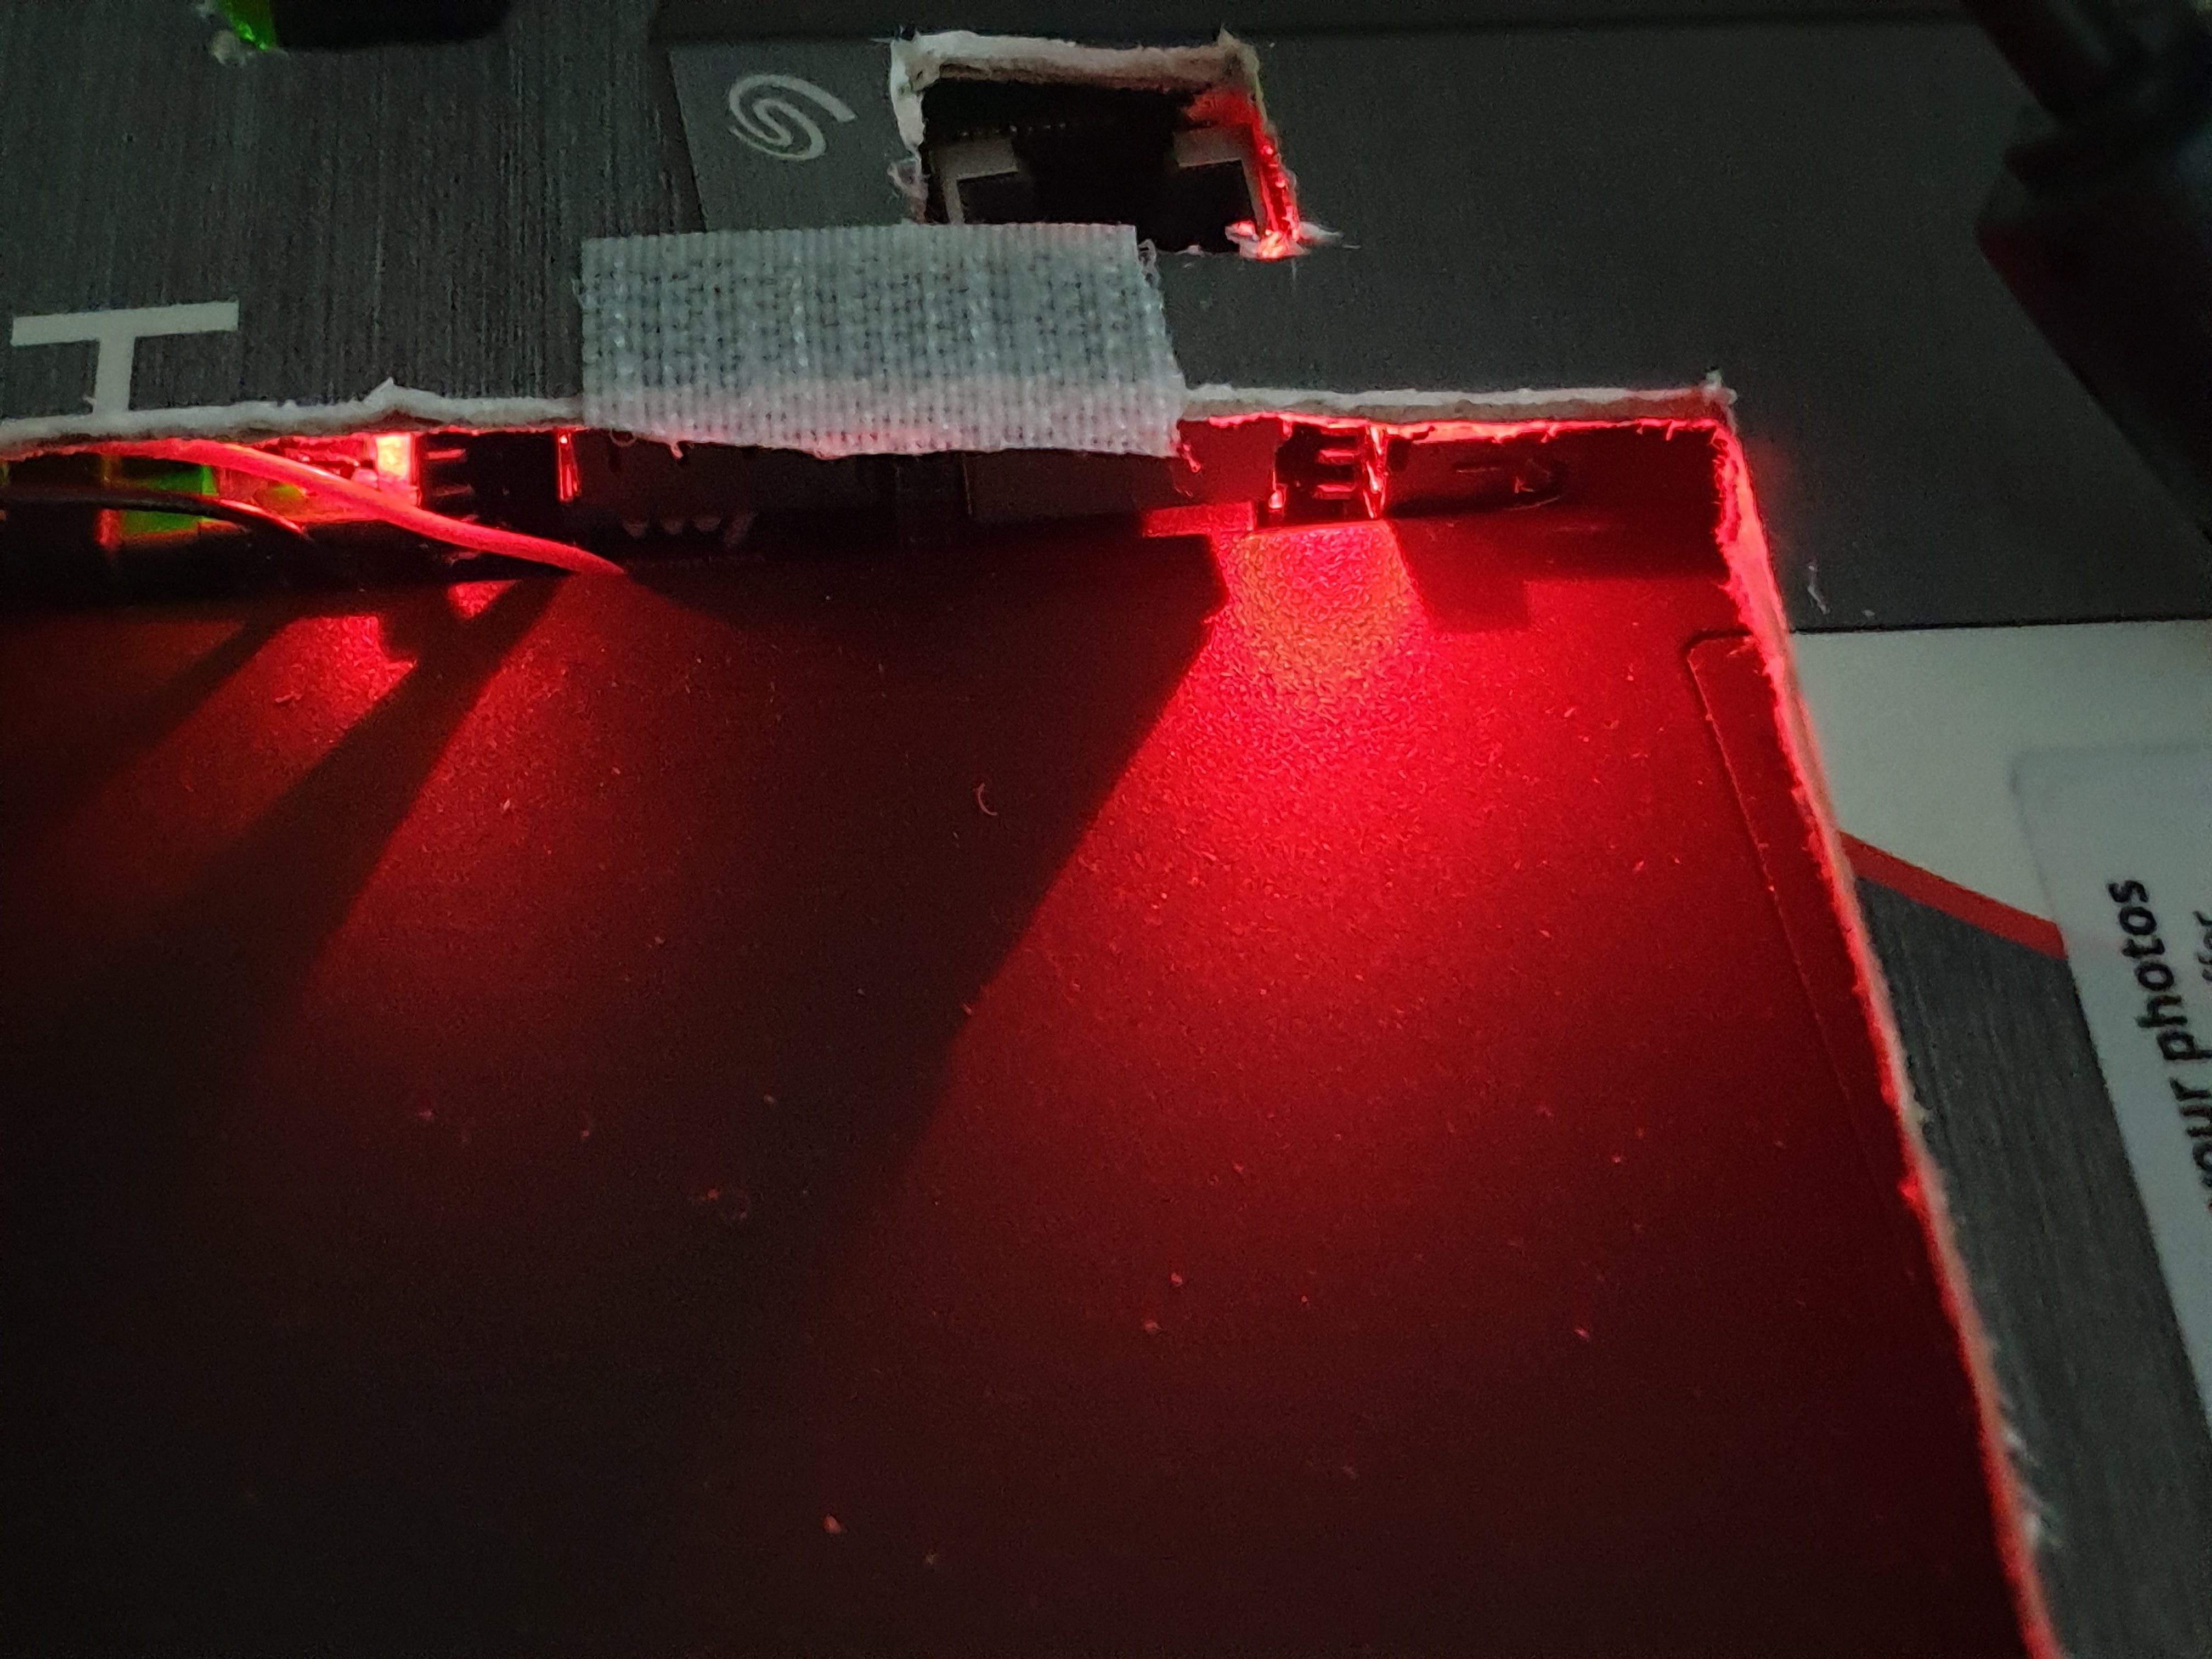
You might be asking why it’s in a Seagate One Touch Hard Disk box, with a fan and ethernet port that only consumes an API. Because it’s connected to a 2TB hard drive that’s inside.
Poorly written Golang
The Pi also runs an HTTP File server I wrote in Golang. Here’s the code for it. Maybe I’d write about it some other day when I am well versed with Golang. But in short it has a bunch of API endpoints that can be used for reading, putting and deleting files on the disk. A SvelteJS frontend consumes those APIs. So, if you have a Pi, don’t let it collect dust. It’s a powerful little machine that can do just about anything you can imagine. Probably not running your machine learning algorithms, but a weather station is a start!
P.S The Pi also runs Pi Hole. That’s why the fan and CPU temp reading to keep it cool.